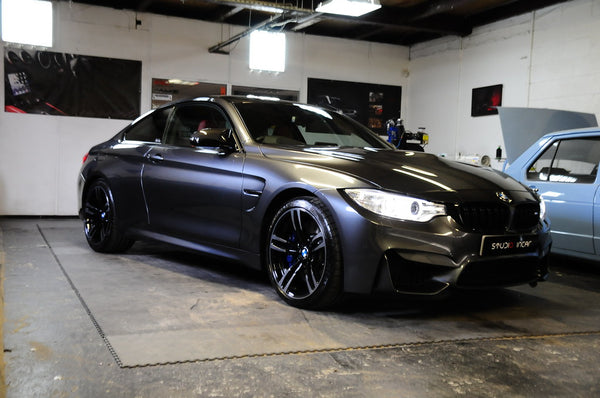
Lets talk about the Studio Incar signature Audison Thesis install in this BMW M4.
Mark, a long standing client and friend of ours drove his new nicely spec'd M4 to us direct from the dealer. After having a couple of set backs with number plate placement the car was ready to collect, it got to us with 118 miles on the wonderful OLED clock. Just the way we like it, we know no-one has been in there before causing knock on damage for us to have to correct.
Two weeks before we had his e92 335D in for a factory reversion, returning the system to standard and removing his existing system.
The original brief was to have the system from the old car installed into the M4 but with a higher level of install fabrication. The E92 all be it flawless was an install designed around its functionality, in this car there was more scope to design something special however the cabin area was to be kept the same with only the aimed Hybrid Audio tweeters on show.
"High level fabrication" was the focus here, sound needn't come into this discussion as we know what Mark expects.
The swing of the build was to switch from the Audison AV series amplifiers used in the e92 to Audison's Thesis Quattro amplifiers, keeping an Audison AV Uno on bass and retaining the full digital link from the car via a DMI integration box to the processor through to the amplifiers. These amplifiers are the top tier of car audio amplification, they come at a serious cost (approx £2700 per amp) and can deliver serious current, full class A.
The build wasn't all smooth sailing and hassle free, as with anything when you are trying to stretch boundaries. The M4 boot space is a pretty un-trodden area in car audio terms, couple this with a couple of large class A amplifiers, a large Class A/B amplifier and processor all working at full tilt and you get a pretty warm atmosphere pretty quickly. For a while we had various heat related issues, annoyingly these take around 3hrs continuous playback to recreate between diagnosis. Coupled with a couple of component issues we were up against it.
No less than 7 fans have been installed into the car to A, force cold air into the boot space, B, agitate air inside electrical components, C, exhaust hot air from the boot. So what at one point was an average 80 degree heat after 1 hour in the boot space is now yet to get over 38 over 6 hours continuous testing. Re-positioning of other components from inside to outside of the boot space, many a heated moment and a lot of hours to get there, perseverance was absolute.
Anyway, enough of all that, lets get on to the build and kit, here's the list:
- Audison Thesis Quattro x2
- Audison AV Uno x1
- Audison Bit One
- Audison DMI for MOST integration
- WIFI Airplay module
- Audison SFC
- Gladen Audio 8" Midbass
- Hybrid Audio L4 Carbon Midrange
- Hybrid Audio L1 Pro
- JL Audio TW5 13" Subwoofers x2
- Connections cabling and Cat5e signal cables all Kevlar braided
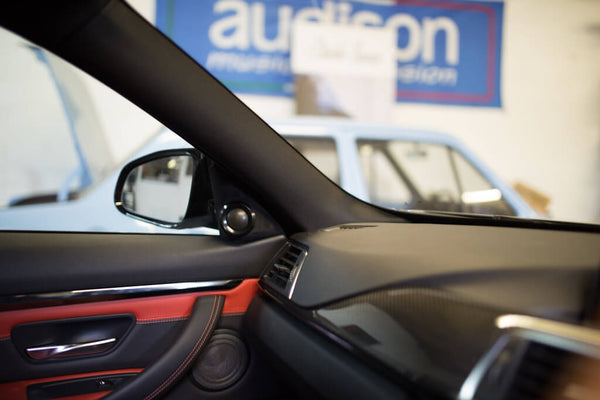
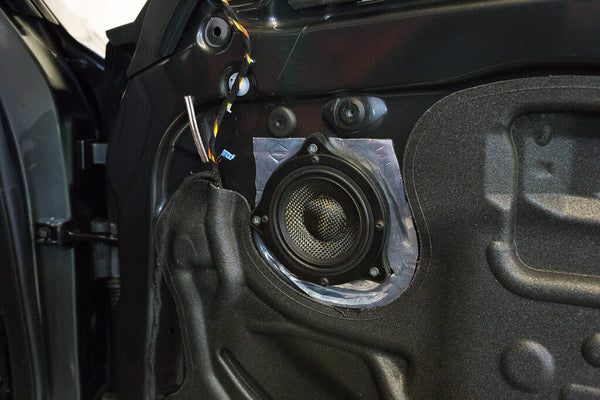
Starting from the front we installed the 8" under seats in a reinforced baffle and kept the side venting, the midrange in the door was mounted on a birch ply baffle in a close to stock location using factory fixing points to not modify the door (looking forwards to reverting the car) see below. The tweeter as above was mounted in a modified sail panel to give us a decent aim on the driver. Crucially the better a speaker is placed the better it will sound, its simple, really, give the speaker its best starting point in terms of path length, direction and mounting and it'll reward you no-end.
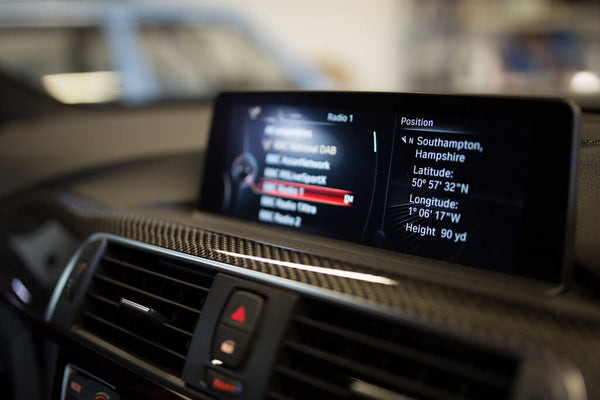
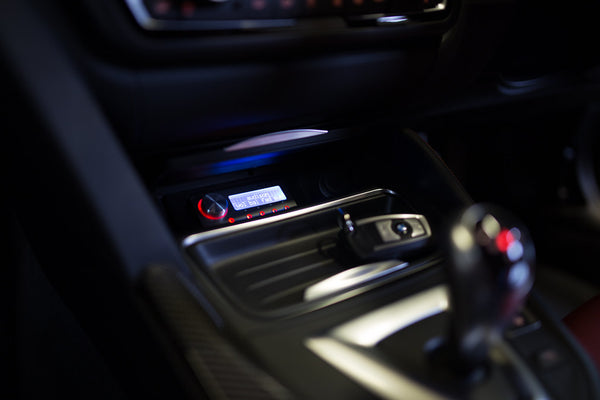
The DRC controller was mounted in the ashtray and tacked in with a plastic weld, this has now been changed to the new DRC MP for a much more "OE" look. Unfortunately I haven't got any pictures of this due to these photographs being taken at the initial time of build, the car has since had a couple of other upgrades. All current upgrades can be seen on our instagram account @studioincar
So with the front stage and processor controller covered we can move into the boot area.
A couple of designs actually made it to build form before between us and Mark we came up with the final design. This took a lot of time and plenty of discussion but well worth it at this level, we don't want to be building anything less than whats expected.
The sub box was the starting point, initially because we won't be cutting a hole into the rear ski section in this car the idea was to fire the bass drivers into the rear deck area, venting them through into the cabin and sealing it from the boot space. Sitting about talking about this was far easier than it was in practice, the JL Audio TW5 13" subwoofer of which we have two may be shy of depth but they certainly don't pull their punches when it comes to width, they aren't small, they wouldn't fit side by side. To fire them from the boot floor took up too much space longitudinally so the original method was applied, load them against the seat, in this particular case just release the two seat catches to break the air seal and away we go. If you want for more output just drop the seats and play.

Carbon fibre was used throughout the build, keeping the weave in the correct orientation as the rest of the car, its roof, boot etc.. The floor panel for the amp rack was made from MDF over ply due to how uniform it is, we've been having trouble lately with some ply bowing over time whilst stored. Then skinned with carbon fibre and cut/trimmed to suit. 0.6mm was taken off parts of the bottom surface to allow for a low weight Alcantara to be used and not cause the carbon any stress.
Shock mounts were fitted to this rack to the note of the amplifiers footprint to allow the amplifiers to remain fully shock mounted keeping them away from any of the knocks and bangs of daily driving.


The installation was then built around the amplifiers, they have 25mm free air space all around the pair to enable the forced air that is entering in the centre underneath the amps to escape and then be exhausted from the boot on the drivers side air vent. Panels are our signature frosted edge lit and have a manual switch. A centre Alcantara stripe was added to the trim and a section on the rear upright was designed and cut out to mirror the car's rear bumper lines.
All panels are bonded, allowing clean removal on the reversion of the car that will be due in around 18 months time when it will be left as standard as the day it arrived.
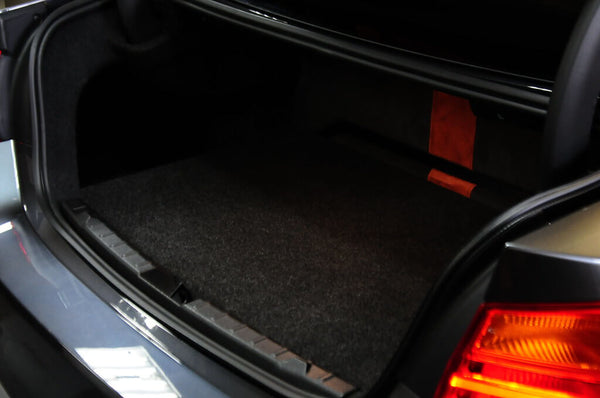
A rear load cover was made for the rare occasion the car would be used for a bit of "dirty work", or shopping.
Two tuning sessions the car has had now with another booked for this weekend to get it just right for the listener, plenty of hours and around 2400 miles has made the system evolve into a solid daily listenable car with the types of sound you can only really expect to experience in a high end home audio set up at nightclub volume levels should you wish.


Photos - Shakey and Sam Rutter.
Shakey - Studio Incar