Back in late 2018 / early 2019 Studio Incar purchased a 2014 VW Caddy Highline model. We decided to use it as our VW Caddy Sound System Upgrade demo vehicle to showcase what we are able to do and also to have some fun with it.
Primarily this project was all about the sound, but we felt why not take the opportunity to stretch our legs on the fabrication side of things too.
This project was to be ever evolving, which we don't usually get to do with client projects. The goal was sound, so if something was built and didn't work properly we went back to the drawing board to review it and make a better design.
We made a video series on YouTube documenting this VW Caddy Sound System project and time-lapsed a lot of the fabrication and installation process. This blog will bring all the parts of this project into one (albeit lengthy) article.
If you have a Caddy Van or anything similar, we are always happy to talk about project ideas. Ultimately, we love making ideas a reality, so get in contact with us on:
01489 578951 or info@studioincar.co.uk
Prepping the Van
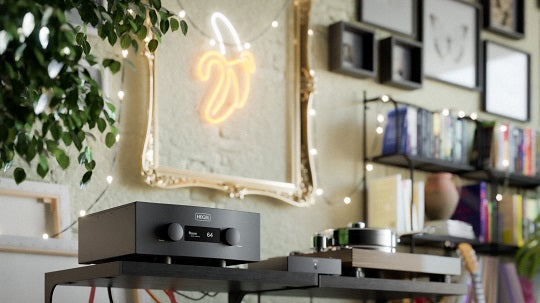
As with any vehicle owned by Studio Incar there are certain functional and aesthetic prerequisites to bring a vehicle to the standard we're happy with.
We gave the van to Reflex Auto Design to add a few stylistic upgrades including:
- MK7 Clubsport Hybrid Front Bumper
- MK7 Clubsport Bresia 19" Wheels
- Original Clubsport Seats on original frames.
- New Grille and Front Lights
- Painted bonnet due to a large dent
- Bilstein Coilovers
- New MK4 Rear Lights
- Top Spoiler
- High Level Brake Light
VW Caddy Sound System - Stage 1 - Sound Deadening
The VW Caddy Sound System, like any serious Car Audio project should, underwent a full extensive sound deadening process. We want the foundation of our system in the van to be as strong as possible. Any point of failure in this process can cause a cascade of issues further down the line.
Prior to installation of the Skinz Expert Sound Deadening, we use Isopropyl Alcohol to clean any vehicle panel that will have deadening applied. This is to ensure a completely uncontaminated connection and maximum possible adhesion.
One of the keys to a quality sound deadening job is to make sure there is 100% positive contact between the vehicle panel and deadening material. We want to maximise the surface area contact, otherwise the deadening wont be adding the vital mass to the panel.
The internal sides of the Caddy Van also had Skinz Panel Lining applied, which helps with moisture control.
Click below to watch our video of Stage 1
Stage 2 - Mid-Bass Door Speakers
Once the sound deadening of the rear floor and sides was complete, we moved onto the doors. We removed the door cards and skins so that we can get direct access to the bare panels. Both of these are strategically deadened to give the Dynaudio Esotec MW162 Midbass the best possible environment.
Midbass speakers tend to produce a lot of energy, especially when you increase the cone size. Therefore, a well deadened door will allow that energy to project into the car and not get lost in the crevices of the door itself.
It also allows us to add mass and to lower the resonant frequency of the door. The purpose of that is to remove resonance from between the speakers and car to a frequency beyond normal human range, so that it becomes inaudible.
Click below to watch our video of Stage 2
Stage 3 - Audison Amps and Dynaudio Subwoofer Installation
This next stage in the VW Caddy Sound System saw a lot of development in how we wanted to display the amps, subwoofers and DSP hardware. We decided on custom side panelling with faux windows. These would match the interior curve of the van and we trimmed them in a nice light grey Alcantara to brighten the interior.
Image below of faux windows during fabrication stage.

With this being a demonstration VW Caddy Van, we decided that most of the hardware needs to be visible, so that it's clear what the system consists of.
Normally, unless requested, we like to hide equipment so that the enviroment in the vehicle is relatively unchanged. Most of our clients use their cars as their normal day-to-day vehicles, so carrying passengers and luggage etc still needs to be a priority.
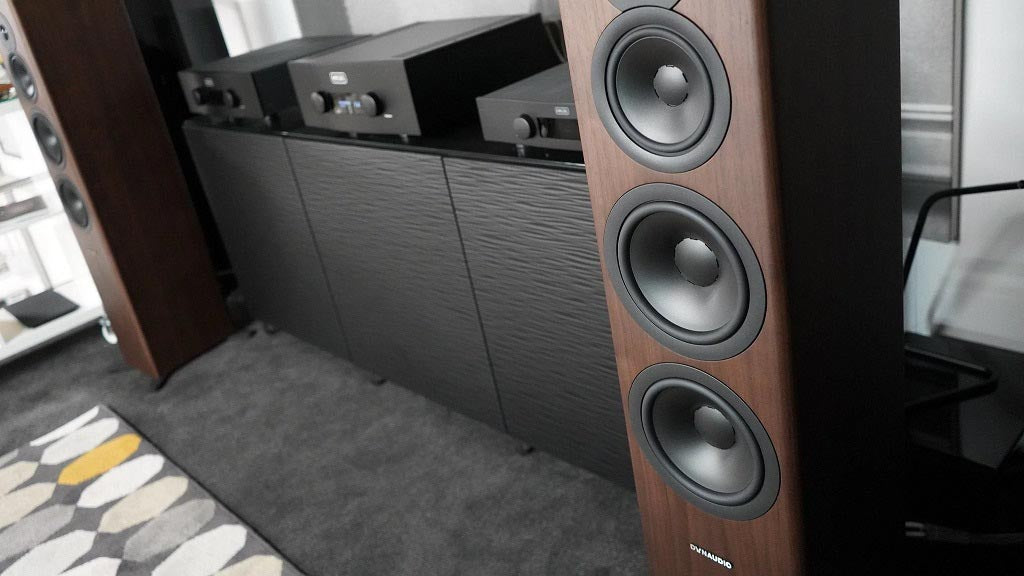
Equipment (Amplifiers, Subs and DSP)
- Audison AV Quattro x 3 (Active 3-Way System - Tweeters / Mid-Range / Mid-Bass)
- Audison AV Uno x 3 (1 amp per Subwoofer)
- Dynaudio Esotar2 1200 Subwoofer x 3
- Audison Bit One HD DSP
We designed a relatively simple amp rack which consisted of 2 amps laying on their side with 2 laying flat on top. The other 2 are put on the Sub-Box.
Work then started on the Sub-Box itself, which was to be a medium size, 3 subwoofer box. This turned out to be a basic rectangular box design with visible outward facing subs on their side. These pointed towards the front of the car directly into where the backseats are.
We began the A-Pillar work and passed all the power and signal cables through from the front of the car to supply the amps and rear sub-box.
We also designed and built an all-in-one tweeter and mid-range unit to go onto the sail panels. These consisted of the following products:
Built within one of the faux windows of the Caddy Sides was the Audison Bit One HD. We mounted it here because, like mentioned previously, we wanted the equipment to be on display and this was very aesthetically pleasing to us.
On a side note, it also allowed us to free up cable distribution space by moving cabling away from the amplifiers and behind the wall on the side of the van.
Click below to watch our video of Stage 3
VW Caddy Sound System - Stage 4 - Upgrades & Redesigns
Amplifiers & Sub-Box
There was quite a large gap between the videos for Stage 3 & 4 because there were aspects of design and sound that we just weren't happy with. As this project was, for all intents and purposes, experimental, we had the opportunity and time to go back to the design stage if something didn't work.
The Sub-Box was the first thing to go. It was generating phasing issues and its position was not ideal. So, we decided to completely redesign it and place it in the rear of the van. Its design is an upfiring configuration pointing up towards the roof.
Along with the issues of the sub-box we also found that 3 individual mono amplifiers weren't woking as well as expected and so we switched to a single mono amplifier. This single Audison AV Uno Amplifier powered all three subwoofers and any lack of power wasn't a concern.
With the change of position of the sub-box and the removal of 2 amplifiers from the system, we decided to place all 4 amplifiers on their side in a "stepped" rack design. This also meant we could build an all-in-one integrated lid in an L-Shape that covered the Sub-Box & Amp rack for a uniform layout.
Photo of the finished Van highlighting the Amp Rack & Sub Box

Front-End Speakers - Tweeters & Mid-Range
As you will see when you watch Episode 4 of the series, we changed the front-end tweeter and mid-range design. We decided that a Dynaudio Esotar2 430 Mid-Range would do a much better job. Of course, why not use the Esotar2 110 Tweeter if you can as well, so we did.
These two components were a fair bit larger than the original Esotec set, so we decided to split the speakers to have the Mid-Range on the A-Pillar and the Tweeter on the sail panel. This also allowed us to tweak the positioning of them to allow for a bit more refinement of the sound stage.
Another change that we made during this time was to install a Sony RSX-GS9 head unit. This allowed us to use a Hi-Res source, which would yield a far superior overall sound quality.
The RSX-GS9 is an 'indulgent' source as it purely acts as a Hi-Res source and doesn't really have any features of a 'normal' head unit, like touch screen, navigation and phone controls.
Click below to watch our video of Stage 4
Stage 5 - Detailing / A-Pillars / Mid-Ranges / Trimming
This was a relativley short stage, but an important one nonetheless. We trimmed the A-Pillars and Sail panels in Light Grey Alcantara. This is a very expensive and high quality material that is common in high-end car interiors.
We chose the grey colour to match the original colour of the interior and to not make the inside look too dark.
Picture to show the finished A-Pillar and Sail Panel

As with all front end A-Pillar and Sail Panel work, we custom build these from the originals to achieve optimium placement.
Again, as this is a demo car, discretion isn't really a requirement. This means they are quite an imposing feature. However, to achieve great sound you do have to make compromises on the looks.
Click below to watch our video of Stage 5
Stage 6 - Trimming / Car Audio Fabrication / Audison Bit One HD Virtuoso
A new product landed during the building of the project. This was the Audison Bit One HD Virtuoso. A stunning DSP, which we had the pleasure of installing the 1st one in the UK.
The Bit One HD Virtuoso has improvements over the previous HD model, specifically in the Analog section. These include:
- Upgraded Audiophile Capacitors
- Burr Brown OP Amps Chips
- SHARC Floating Point DSP
- Virtuoso DSP Software
Side Panel Fabrication
Even though they were shown in earlier stages, focus now is on the side panels. The design was to match the internal curve of the van's interior wall and to give a faux window effect.
We housed the DSP in one of the windows with all the cabling hidden behind. Then we bonded the panels to the bracing that had been previously attached to the van.
Pictures of the Side Panels during Fabrication


We built the windows in a 3D effect so that, when trimmed, they give a "stacked" appearance and some great textured detail. This is something that we think sets our fabrication quality apart from others.
This design is visible on the sub-box with multiple layers to really add to the 3D honeycomb effect.
The sub-box and wheel arch area started to see the addition of the hexagonal blocks to make the 3D effect more pronoun ed. We really liked how they came out and how they follow the wheel arch curves.
Photos of the Audison Bit One HD Virtuoso Install.


Click below to watch our video of Stage 6
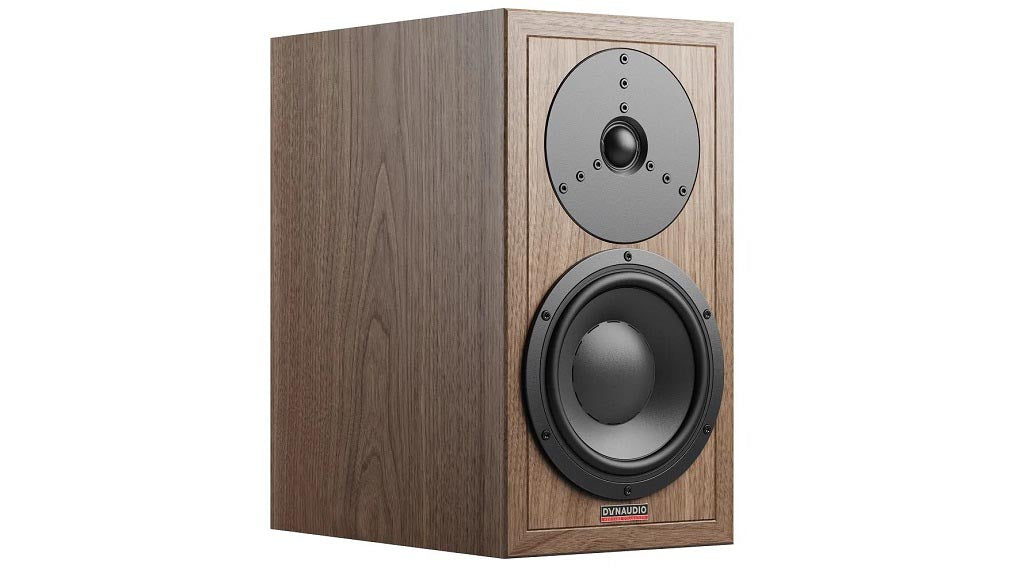
Stage 7 - Dynaudio 10" Midbass in the Doors
The final episode of the Caddy series - the goal of this stage was to fit the Dynaudio Esotec MW 182 - 10 Inch Midbass to the doors. As mentioned previously in the blog, this project was constantly evolving and changing as we went. We decided that having a 10 Inch Mid-Bass was enough of a challenge to us that we wanted to give it a go.
Of course, it had to sound good, but our experience had lent us to believe that these speakers were going to work very well.
A 10 Inch Mid-Bass in a door build is likely the largest that is possible to be done well. We had to make sure everything in the door was absolutely solid as these doors are prone to a bit of rattling.
So, anything that could move was strapped down and extra deadening was applied.
To fit the new baffle we had to trim out some of the door card to allow for extra clearance when closing the door. Of course, the driver side speaker has a bit more kick to deal with the steeper angle to the driver's listening position.
Click below to watch our video of Stage 7
Conclusion
If you've got this far, firstly well done, it was a long read. Secondly we hope that it gives you a feel for how we like to push our knowledge of sound and fabrication. We like to treat each car as individual projects, as you can never be 100% that a system that works in one Caddy will work in another.
If this has inspired you to have work done on your VW Caddy or something similar please contact us on the details below. We're just as happy to upgrade some simple door speakers or a head unit than we are to go to the extremes with a build like this.
Thank You for reading
Email us at: info@studioincar.co.uk
Call us on: 01489 578951