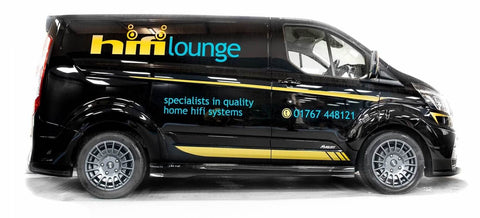
Take one look at Paul's MS-RT Ford Transit Custom Audio / Speaker Upgrade and you can tell he's serious about his business, his brand, HIFI and motorsport.
Introduction and Background
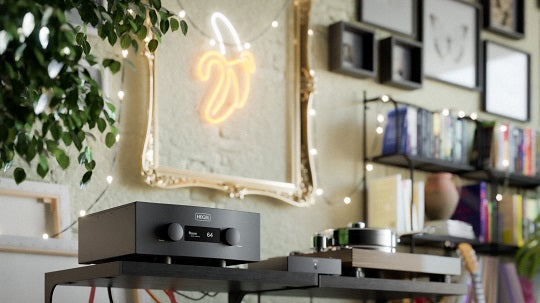
Paul and Wendy, in a relatively short space of time (6 years give or take) have grown Hifi Lounge into arguably one of Europe's top specialist Hifi outfits. Upon delivering the Ford Transit Audio Upgrade job back to an excited Paul, we were invited up to Hifi Lounge. We could stay for as long as we want and listen to whatever we liked. Therefore, being Hi-Fi enthusiasts, this was something we couldn't refuse.
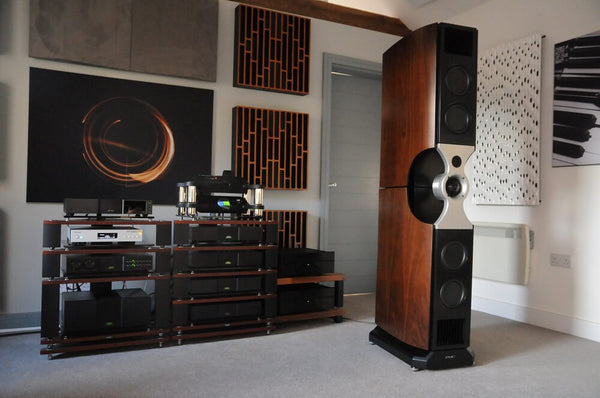
Set in the Bedford countryside, Hifi Lounge feels like you're invited into someones home. After some coffee and a friendly chat, we took a seat on one of the comfy sofas to listen to the new £45K PMC Fenestria. Certainly an absolute treat! Although it's not these mighty things that are on blast today, it's Pauls Ford Transit Custom.
Finalising the Project Brief
Paul approached us after a chat with Bruce Gowans who is a multiple award-winning sound quality competition client and friend of ours. We got talking and as a result a simple system was decided on. Leaving the factory unit in place to start with and integrating this so we can retain all OEM functionality.
A 5 channel active system with DSP allows us to control the output from the headunit. Splice this up and send it where we wish, then time aligning, EQ as we go.
The suggested kit list is as follows:
- AudioControl D-4.800 - Multi Channel Amplifier with DSP Function
- AudioControl LC-1.800 - Mono Subwoofer Amplifier with AccuBass
- Hertz Mille Legend ML 280.3 - Tweeter Set
- Hertz Mille Pro MP 165.3 - Woofer Set
- Audison Prima APBX 8 R - Compact Subwoofer Enclosure
- Connections silver tinned OFC cabling throughout
The Installation Process
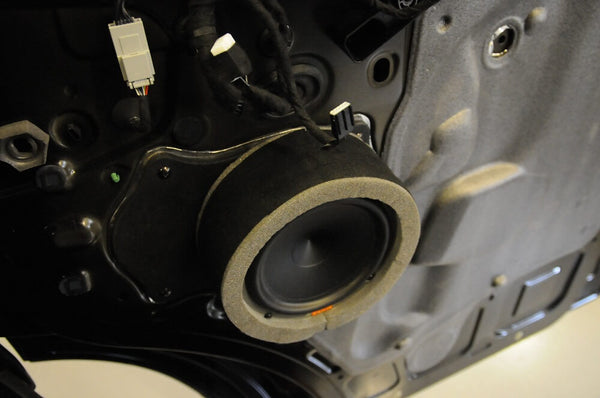
The first part of the job was to attack the doors and get rid of the standard plastic speakers/housings. Therefore, we applied deadening to damp the doors making them a much more forgiving surround for our upgraded midbass units and custom baffles.
With the standard speakers off we made a copy of the mounting footprint as a start to build our baffles from.
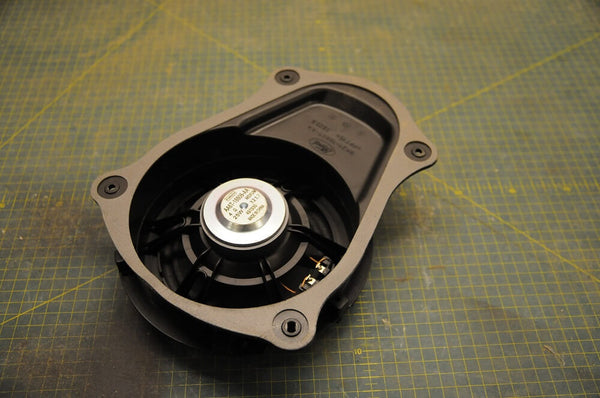
We stacked them with 36mm baffles and treated, fitted them up with our new midbass units.
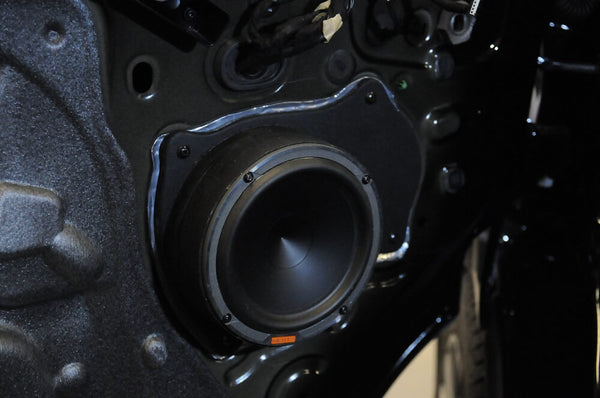
Once this stage is complete we add a foam surround to meet the rear of the door card and to channel all energy into the cabin.
Meanwhile, it's time for the door cards to go back together, but not before the rear has been treated and the clips have been bonded. Its not pretty, but it is neccessary.
Tweeters and A-Pillar Build
After that, we move onto the pillars. The factory plastic mount isn't large enough to mount our new tweeter so we removed the mount using a router bit and made a new one.
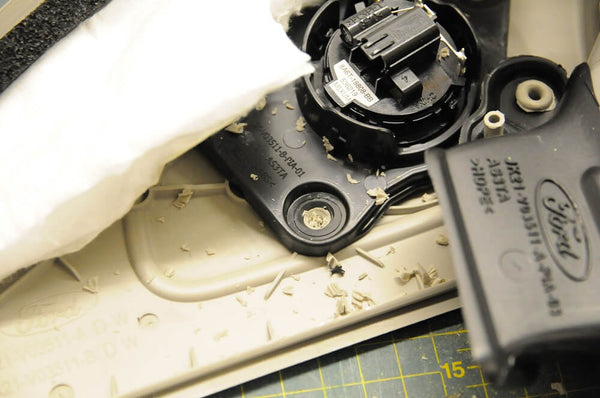
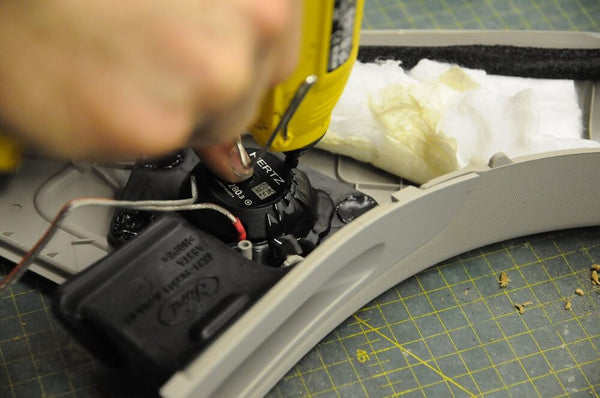
We plastic welded our new mount in. Then surrounded the tweeter with automotive hot glue to ensure everything stays true.
Amplifiers and DSP Installation
With the tweeters complete, the cables we ran are connected to each driver and sent back to our new amplifier. After that, we unboxed the new Audiocontrol DSP and slave amps. It's exciting to use a new product and it doesn't happen very often because we stick to the products we love and are confident with. However, we've been hearing great things because AudioControl are a brand that has stood the test of time. Usually only for one reason, so lets give them a go.
Amplifiers and Location Placement
The AudioControl have a good amount of power at 100W RMS per channel and 800W RMS for the sub channel. There is DSP control of the independant channels and DSP output control of the subwoofer amplifier. Very simple looks and a solid feel certainly put these amps in our good books. The user interface is amongst the best we've used. It takes a little getting used to being familiar with most other DSP software, but this took all of 10 minutes.
We're going under the Seat
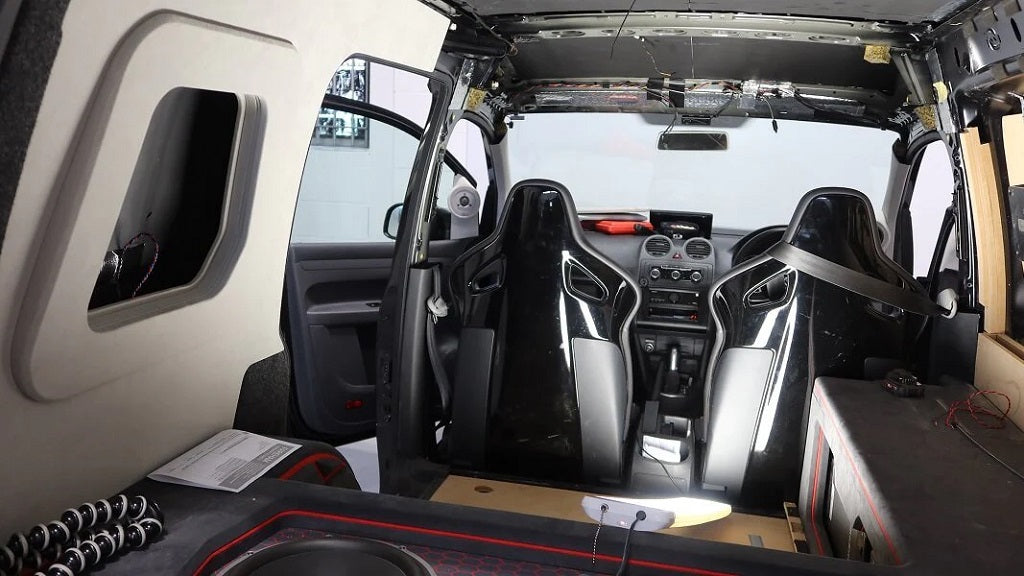
With the amps out of their box and a simple unboxing video in the bag we started on the under-seat mounting location. For this we made a simple rack just slightly larger than the amplifier footprint because we need room to strap our cabling down and allow a couple of fixing points. There's no point boxing them in under the seat because they'll only get hot unnecessarily.
The under seat area in transit customs are ideal because they offer bags of space. Therefore, a down firing 8" subwoofer can offer bucketsful of low end should you want it. We tend to wind our subwoofers back for a more "linear" output. Possibly 3db up on the rest of the system for reference. There's a little magic going on with the transit under seat area and a loaded down firing subwoofer because they work extremely well together.
I'm sure Paul will testify to the fact the subwoofer is not "booming" or over powering. It just has a well natured approach to developing the big notes and integrates very well with the midbass.
Finishing up the Wiring
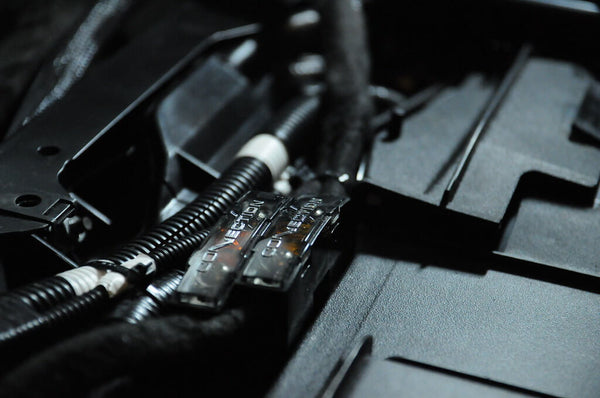
We disconnected the battery and the power cables were hooked up and then reconnected with appropriate fusing. Individual feeds were sent for both power and ground directly to the battery.
Tuning up the Ford Transit Audio Upgrade
Now with everything hooked up and the van back together, we're good to go and get the system fired up. Early line level tests showed the vans OEM output was relatively flat. It was shifting around slightly with volume as expected, although it was subject to time alignment straight from the deck.
We first had to get around this with some input delay and then we could move forward. On brand new equipment we don't usually move to EQ and if we do it's very slight cuts here and there. Meanwhile, we aligned the system for a decent centre stage and experimented with a few different crossover points.
Using the Audiocontrol interface was a nice first experience because it is extremely simple to use. Above all, it seems as though it is designed for someone with a basic understanding of sound. That is a compliment to how simple Audiocontrol have managed to get there software to be to understood. Other brands need to take note here.
Initial set up complete, we're happy with how things are looking so it's time to go home.
Costs
The typical cost for a system of this level is £3,850 and turnaround is approx 24 hrs.
Summary
Music and the love of it is what makes us all do what we want to do, regardless of whether you're into HIFI, car audio, musical instruments or pro audio/production. It's always the end product that keeps us wanting to reproduce that "in the studio or live" rendition with our equipment. Trust me, it can be done just as well in a vehicle as it can be in any room.
Paul is extremely happy with how the system has turned out and we're already in discussions for another step to maybe rid the Transit of its factory head unit. However, this will take a little more planning than the norm, we'll get there.
What a great way to start a great relationship both in business and in friendship. We're extremely grateful to Paul for choosing us and Bruce for pointing Paul in our direction.
As always, a huge thanks for reading if you get this far. Thanks to Andy at Lurntwubber photography and Stu at Immaculate Detailing.
If you have a Ford Transit and you like the look of what we've done, get in contact and discuss what Ford Transit Audio Upgrade we can do for you.
- info@studioincar.co.uk
- 01489 578951
Carl Shakespeare


